My latest project, which has taken me far too long to actually pick up, was sewing up a crib bed skirt. After spending some time looking for ready made options online I decided home made was the way to go even though I’m a novice. I couldn’t find anything in the stores that grabbed my attention enough to want to spend money on it.
We had decided on a theme for the nursery: Dr. Seuss. Oh, how I love Dr. Seuss. We bought some different Dr. Seuss fabric samples and finally decided on the Celebrate Seuss bright allover characters print with 2 accent fabrics.
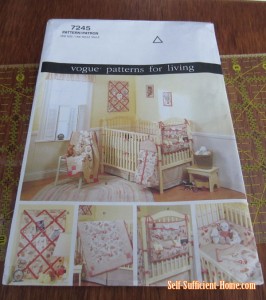
I used the Vogue Patterns For Living 7245 bedskirt pattern for this project.
After the fabrics were washed and dried (and sat around for quite some time) I spent one evening cutting all of the different pieces. For this pattern 3 fabrics are used.
Out of the main fabric, which is the Dr. Seuss print, the deck (28″x 53″), 4 side sections (34″ x 10″) and 2 end sections (30″ x 10″) are cut.
The first contrast fabric, which is the tealy blue color, is used for the 1 1/2″ bias trim.
The second contrast fabric, the grey and white pin stripe, is used for the side and end bands cut to 33″x 7″ and 28″x 7″ respectively.
Once everything was cut I started on the side panels. 2 of the seuss side sections are sewn together. Then, the ends are finished by pressing and stitching 3/4″ in.
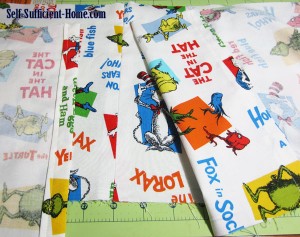
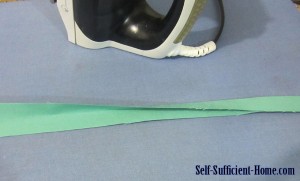
Next, the bias is folded in half and pressed. I actually really enjoyed pressing the bias…weird.
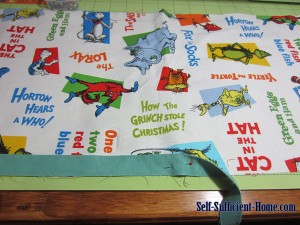
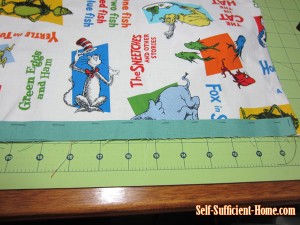
The bias is then pinned to the side section with raw edges lining up. The pattern calls for the bias to end 1/2″ short on either end.
Baste! How I dislike basting. I actually skipped basting on the shorter end pieces and opted just to pin instead.
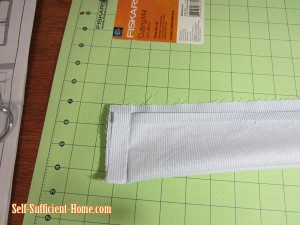
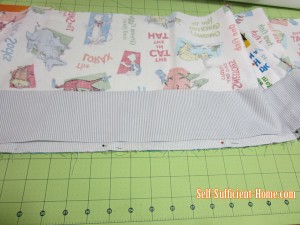
Now, time to play with the third fabric. The side bands are stitched together in the center as the side sections were. 1/2″ is pressed along the length of the piece. With right sides facing, fold lengthwise leaving 1/2″ at the top. Stitch sides and turn right side out.
The side band is then pinned to the backside of the side section with raw edges lining up. Stitch.
The side band is then folded to the front and the raw edges are tucked inside. Stitch over the previous stitching.
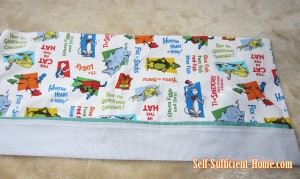 Ta-da!
The shorter end pieces are constructed in the same manner except there are no seams in the center.
The longer side sections have one more step: the pleat.
Measure in 5 1/2″ and baste. Press fabric centered over the basted stitch and baste along the top.
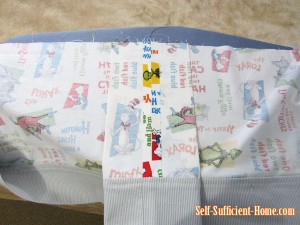
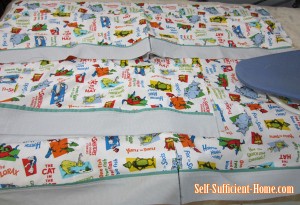
All of the sides and ends were completed. That’s a lot of Seuss.
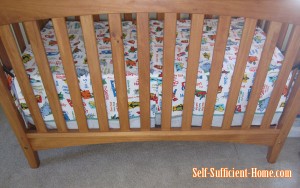
All of the pieces were then pinned and stitched to the deck. I tried the bed skirt onto the crib for size even though we don’t yet have a mattress or any other pieces for that matter.
 Timberline Homestead A self sufficient homesteading life

One comment
Pingback: Sewing Curtain Valances - Craft / Handmade Our Self Sufficient Home