I recently undertook my first real quilting project. I had in mind a table topper with bright colors that would suffice for Easter and all of spring. I went to the fabric store with the intent to keep the visit short, in and out was the plan. However, once I got in there I couldn’t narrow down my options. Thank goodness for charm squares is all I have to say. For those that aren’t familiar, a charm square is a bundle of precut fabrics, usually in the same design theme, packaged together for quilting purposes. I walked out with a bundle of Moda Fabrics Fresh Cotton squares and 2 different larger pieces of fabric for both the front and back of the project. I just could not resist the vintage charm of the Fresh Cotton prints. The trim and batting would be leftovers from a different sewing project.
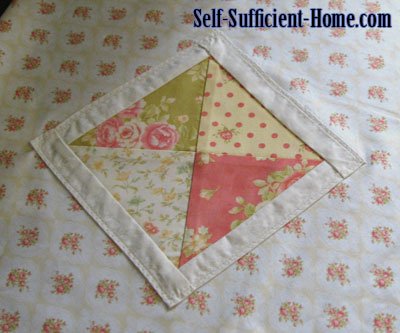
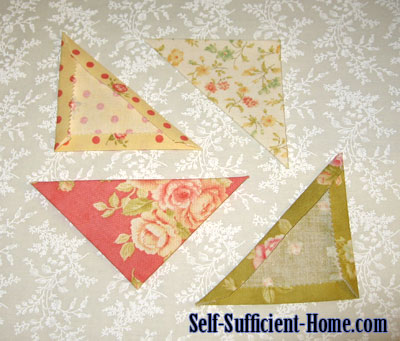
Once I decided on the 4 prints, the squares were cut in half on a diagonal to create 8 triangles, 4 for the front and 4 for the back.
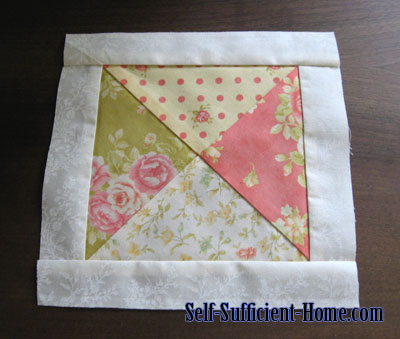
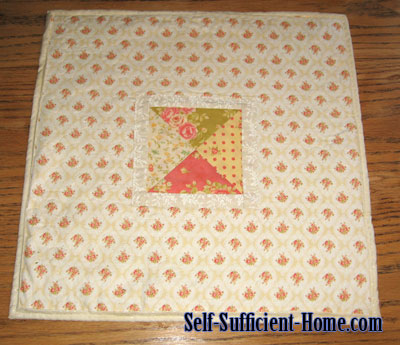
For the front, the 4 triangles were pieced together to form a square, then trimmed with the main print for the back of the table topper, then placed onto the main square of fabric.
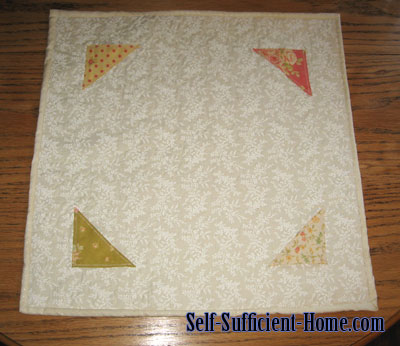
For the back, the 4 triangles were placed in the corners of the main square. I ironed down 1/4″ edge on each triangle then used a decorative stitch on top of the fabric to secure them onto the main square.
Since the layout for the front and back are so different, I used thin batting on the back side of both the front and back squares so I could quilt them separately.
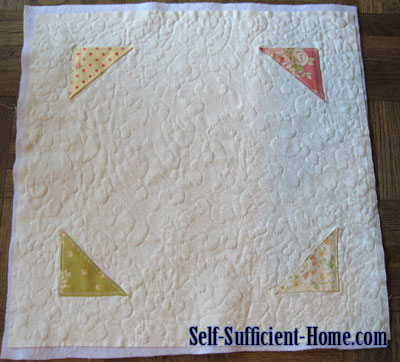
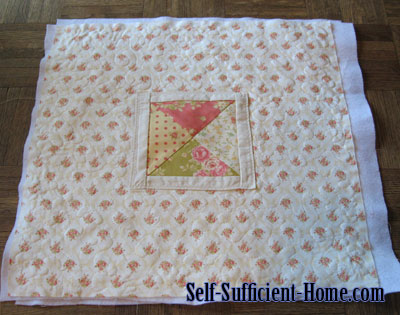
This was my first attempt at quilting aside from the practice square I worked on to test my skills. This was by far my favorite step in the project. My Brother sewing machine has a free motion quilting attachment which allows me to move the fabric freely in any direction while stitching to create swirls and designs.
After each side was quilted, I trimmed the excess batting, then pinned the 2 squares together to keep them aligned properly while connecting the border.
I did a bit of research to find a technique to create mitered corners for the border. It wound up being much simpler than I anticipated though I’m sure I can’t explain it well without the proper pictures.
Border was attached on the front side, then wrapped around to the backside, stitched in place, excess threads trimmed, and voila! Not perfection, but also not too shabby for attempt #1.
 Timberline Homestead A self sufficient homesteading life