I’ve had an interest in making butter for a short while now. The topic came up in conversation and I made a mental note that I should look into it and that was the end of it. We aren’t big on butter as a condiment in this household (except of course slathered on fresh steamed corn on the cob) but use it sparingly for cooking and baking. I cant really pinpoint why the idea was so appealing to me because we so infrequently eat buttered anything but I think the lure was making something that all my life I’d bought at the store without ever considering the homemade alternative. After picking up a homesteading book and leafing through to the homemade butter and cheese chapter my interest was renewed. A few days later while reading Mother Earth News there was a snipit on homemade butter. Now I was convinced I had to try my turn at making butter…and what was there to lose? The process is incredibly easy and if it didnt turn out I was only out a little bit of time and a few bucks but would still gain the experience.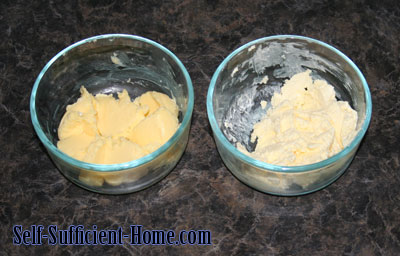
Through my little bit of research I discovered sweet cream butter and cultured butter. Now after my entire life of butter from the cold section of the grocery store my options have expanded. Out with margarine and artificial butter alternatives and in with sweet cream and cultured butter. I have eaten cultured butter before but never knew why it was different than the “normal” butter I was accustomed to. Anyhow, I couldn’t decide which I should try so I made both.
Briefly: sweet cream butter is made from fresh cream before it has a chance to really allow the bacteria within to multiply. Cultured butter is made from cream that has been cultured and the bacteria within have multiplied which changes the flavor of the resulting butter.
Step 1: Cream. In my case I had to buy organic heavy whipping cream from the grocery store. How I wish we had access to raw dairy.
Step 2: Culture (This only applies to cultured butter)
If you’re using pasteurized cream like I did you have to inoculate your cream so the bacterial growth can begin.You can buy culturing supplies from specialty stores or inoculate your pasteurized cream with something containing active cultures like sour cream, yogurt, etc. I chose to use some organic sour cream with active cultures. The sour cream sat out for about 5 hours before proceeding to the next step. You can adjust the flavor of your cultured butter by using different cultures and culturing for shorter or longer periods of time.
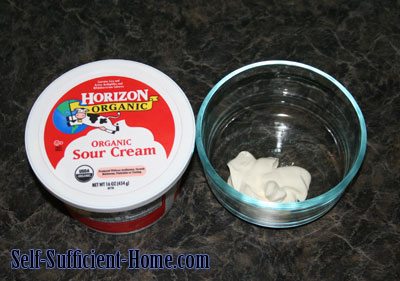
Step 3: (Skip this step for sweet cream butter) The very active sour cream culture was added (about 1 tablespoon) to the heavy whipping cream (1 cup) and allowed to sit for about 17 hours at cool room temperature. This time can also be adjusted up to days or weeks to get a distinct flavor to your butter.
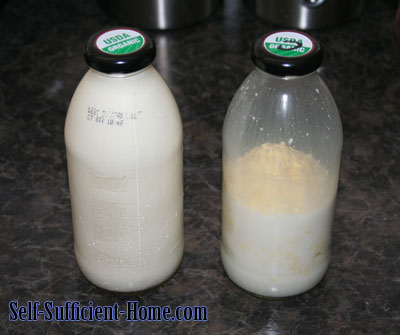
Step 4: The cream is put into the mixing container of choice. I used some glass beverage containers. I should note that you can easily make butter with an electric mixer but I opted for good old manual power. At this stage the difference in thickness is remarkable (picture below). The sweet cream butter on the left and the cultured butter on the right.
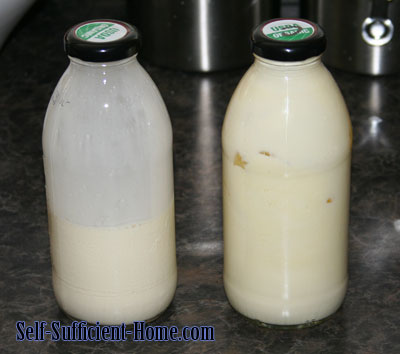
Step 5: The shaking begins. The difference can be felt and heard while shaking. The sweet cream sloshes around like milk and the cultured cream was so thick I couldnt feel or hear movement. I took a peak at about the minute and a half mark. Picture below.
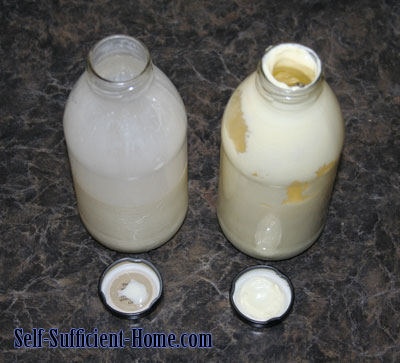
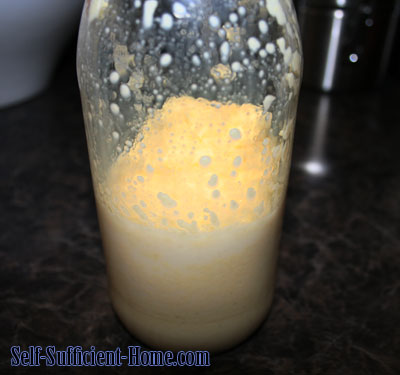
Step 6: At about the 3 and a half minute mark the cultured cream broke and the sweet cream was just beginning to thicken.
Step 7: On with the sweet cream butter. After about 5 and a half minutes the sweet cream butter turned to a thick cream, by 6 and a half minutes a a solid mass of very dense whipped cream, by 9 minutes it began to break and by 10 and a half minutes…..
Step 8: Seperate the buttermilk from the butter.
Step 9: Rinse the butter with cold water. I added the water to the bottle and shook for just a few seconds more and drained again.
Step 10: Remove excess liquid from butter. I wrapped each ball in clean cloth, set them in a strainer inside a bowl and put them in the fridge for about an hour. It’s mid summer and the kitchen stays fairly warm during the day which isnt ideal butter working conditions. The sweet cream butter came out of the fridge in a solid mass. The cultured butter on the other hand was still very wet and closer to the consistency of pudding. I tried working the butter on the side of the inside of a bowl with the flats of my hands and a wooden spoon which didnt work well for me. I dont know if it was too moist or too warm at that point. I tried a few different methods to remove more liquid including rolling the butter in wax paper and squeezing which has a similar effect to wringing a towel. This helped but it wasnt long before the wax paper was mushy and split. I then tried sandwiching the butter between clean dry cloths and patting the mass. I think this was probably the most efficient method but I did waste some butter that worked its way into the cloth. When all was said and done after rechilling they both set up to the same firmness.
The final product: Sweet cream butter on top and cultured butter on the bottom.
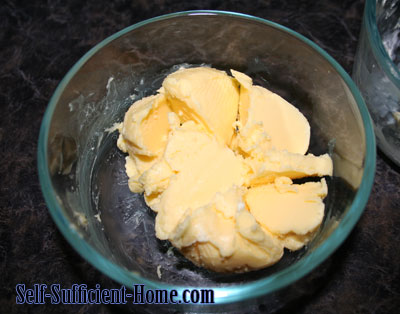
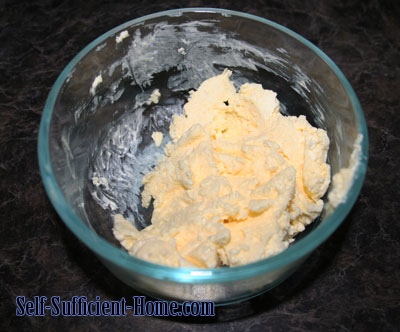
Both are delicious. We both prefer the flavor of the sweet cream butter in this particular taste comparison. Perhaps in the future I’ll experiment with different cultures. I think the sour cream flavor overpowered the flavor of the cream and we were left with a butter, though delicious compared to the store bought variety, with a somewhat flat taste.
 Timberline Homestead A self sufficient homesteading life