I recently attended a fermentation workshop after husband started eating raw sauerkraut for it’s numerous health benefits. Raw, unpasteurized sauerkraut has been difficult for us to find locally so we’ve resorted to ordering and having it delivered. We both would much prefer to have control over the ingredients in our food so the idea of being able to whip up a batch of the hard to find fermented sauerkraut was very appealing. The short workshop opened my eyes to fermentation as a method of food preservation that requires no heat and no vinegar…score!
The health benefits of fermented, unpasteurized foods are many including aided digestion by way of digestive enzymes, improved nutrient absorption and increased beneficial bacteria in the gut.
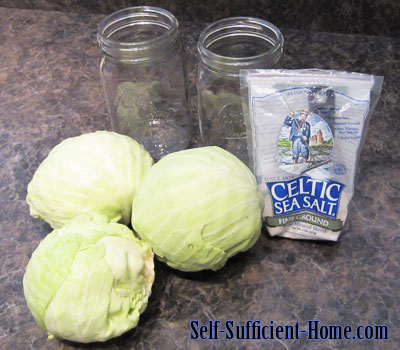
Down to business- I started my first batch of raw sauerkraut yesterday with no spices or anything that was not essential to the process. Brace yourself for this long list of ingredients: 2 medium sized heads of organic cabbage and celtic sea salt.
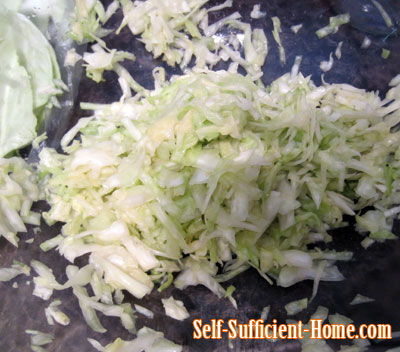
First, peel off the outside leaves and reserve for later. Then, remove the core and slice up the cabbage. Place in your smashing bowl. The core can be grated and added if desired. Strive for uniform pieces. Ah! I’ve skipped over the issue of choosing cabbage. We were instructed by the fermentation queen holding the workshop that organic cabbage is important as chemicals used on non-organic cabbage could inhibit the fermentation process. Green or red cabbage is fine- the fresher, the better.
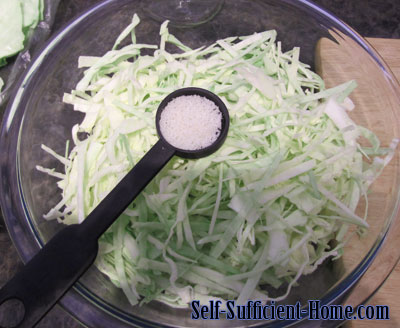
Next, add your REAL salt. Not the iodized, processed table salt. Think Celtic or Himalayan salt. You’ll need 1 tablespoon for this recipe.
Now, you let your frustrations out. Pound, squeeze, smash, punch or whatever tickles your fancy to break down the cabbage and release the juice. There are tools for this specific purpose which I don’t own. I wound up using the potato masher. I found using the biggest bowl we have was beneficial as the cabbage sloshed over the sides of a medium sized bowl during the mayhem. The cabbage mound reduces in size rather quickly but keep smashing for 5-10 minutes. You’re looking for juice to begin to pool at the bottom of the bowl. You can see the moisture in the picture below (hopefully).
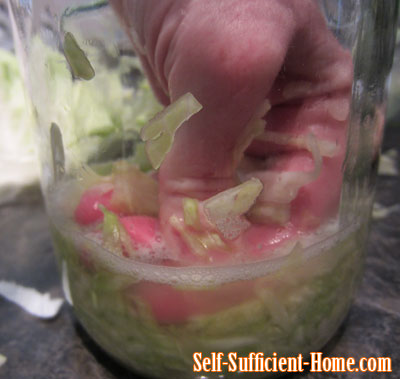
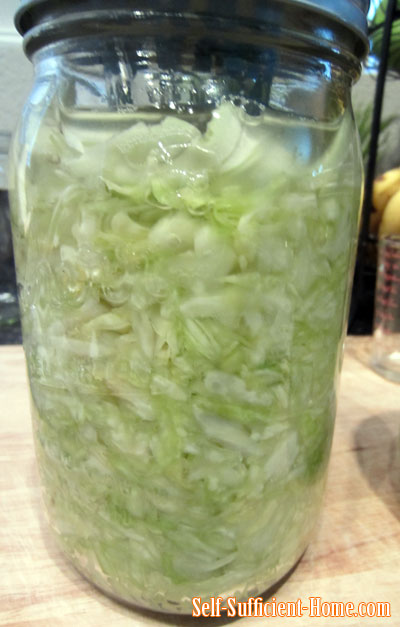
Add the cabbage layer by layer pressing down firmly after each layer. You’ll see the juice seep up to the top of the cabbage as it’s compacted.
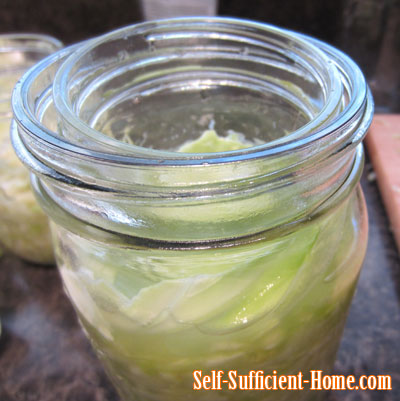
Leave about 2 inches of space between the top of the jar and the cabbage/liquid line. Insure that any cabbage inside the jar is below the liquid and top with the reserved cabbage leaves. This helps to keep the little pieces of cabbage down.
Top with a small jar or glass. You may need to add an additional weight inside this glass to push the cabbage down a bit more. I tried a few different combinations before I found what I thought works best.
Top with the lid, loosely. It’s important that the lid is NOT tight. Gas and bubbles will form during the fermentation process and must be able to spill out of the jar. Otherwise, you may end up with mess of broken glass. I’ve heard other methods of no lid at all.
Place on a tray or shallow dish to catch any over flow. Wait patiently while the fermentation begins.
Check often during the first day or so to make sure the cabbage is in fact under the liquid and the lid remains loose. The amount of time until the sauerkraut is complete varies. It could be a few days or a week or so. Start checking flavor after 3 days. Once the desired result has been achieved, remove the weight and replace the lid tightly. Store in a cool place or refrigerator.
 Timberline Homestead A self sufficient homesteading life
